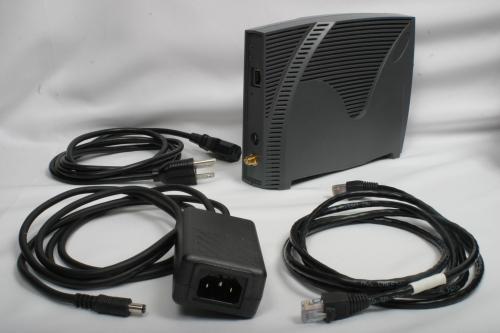
Step 2: Connecting
the Components:
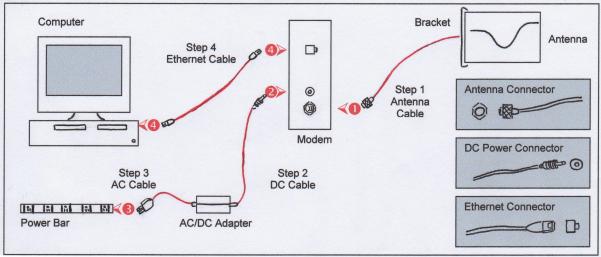
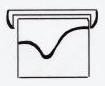
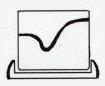
Figure 3: Intallation
Chart
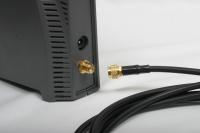 |
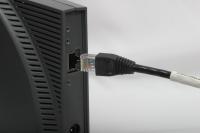
1. Finger-tighten the antenna
cable (the 'gold' colored connector) onto the corresponding
'gold colored' connector at the back of the Modem (see
Figure 3 Step 1).
DO NOT over tighten or use wrenches
or pliers to tighten.
WARNING: You must connect the
antenna to the modem FIRST, before operating the system.
Failure to do so may result in permanent equipment damage.
|
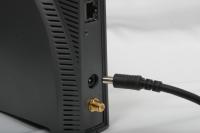 |
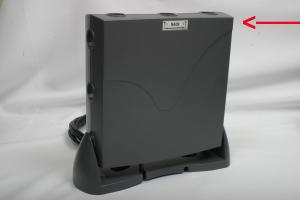
2. Connect the DC power cable
(from the Power Supply) to the Modem (See Figure 3 Step
2). |
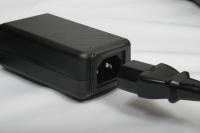 |
3. Connect the AC-power cord
between the AC/DC adapter (Power Supply) and the other
end plugs into the AC outlet (power bar versus a wall
plug) (See Figure 3 Step 3). Your Modem will power-up.
There is no ON/OFF switch on the modem.
Note: To avoid potential damage
to the Modem components in the event of a power surge,
use a 'power bar' with surge protection (instead of
connecting the AC-power cord directly into a wall plug
(AC outlet).
|
Step 3: Testing the
Modem and Antenna positioning:
Once you connect the power, check the
Light (LED) indicators on the front of the Modem to ensure
that your Modem is functioning properly and receiving an adequate
signal (See Figure 4). There are three lights including: 1.
Power Light (LED)2. Signal Strength Light (LED) 3. User Connectivity
Light (LED)
The middle light (Signal Strength LED)
will start to flash on the Modem. An optimum signal is a 'FAST'
flashing light indicating a good signal strength. To test
this, move the Antenna (not the Modem) around the room or
window (with the 'curved side' pointed towards the nearest
tower location), until the middle green light on the Modem
is blinking rapidly. Once found, this is where you should
mount the Antenna.
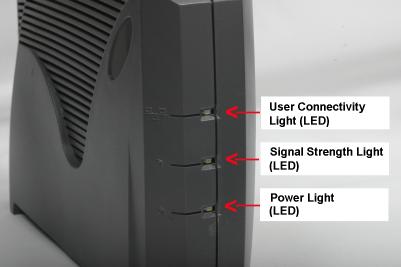
Figure 4: Modem Lights
(LEDs)
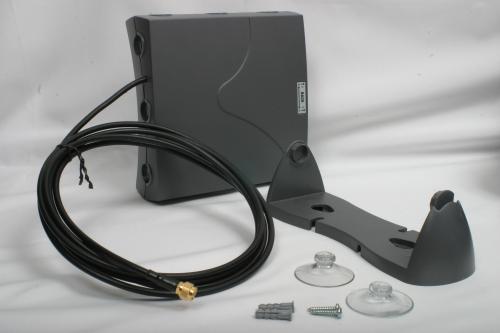
Step 4: Mounting
the Antenna:
1. Thread the pre-attached Antenna
Cable through the guides in the back of the antenna bracket
if required. Note: Bending the Antenna Cable too sharply can
degrade the Modem performance. Never allow less than a 0.5
inch bend radius. If a quarter (25 cent piece) fits into the
curve, the bend is acceptable.
Antenna Mount Guidlines:
| Suction Cups |
Use on a flat, smooth
surface such as glass, plastic, laminates or metal. Remove
all grease, oil and dirt before securing Antenna Bracket
with suction cups. |
| Drywall Plugs |
Use on all commercial
drywall and other plaster surfaces |
| Screws |
Use on hardwood surfaces |
2. Insert the suction cups or screws
into the base of the antenna bracket then mount the bracket
onto the desired surface. Note: If you mount your antenna
bracket on a vertical surface, orient the bracket so the 'Spring
Clip' is closest to the ceiling (See Figure 5).

Figure 5: Antenna
Bracket Components